
We first came up with this scenario as a kind of starcraft meets 40k kind of thing. It was great fun to play and Old Two Eyes built an impressive board for it which no doubt we will use again and again for different missions. fir
Mission Three – Day
Fifteen - The Beacon
Imperial Special Forces
Ordo
Xenos Inquisitor
level one psyker with 1 chosen power from rulebook, Force Axe, Needle Pistol, Rad grenades, carapace armour, refractor field.
Deathwatch
Librarian
level one psyker with 2 chosen powers from Space Marines codex or rulebook, Melta Bombs and Force Staff.
Deathwatch
Kill Team
10 Sternguard with Heavy Bolter, Heavy Flamer, one of each Combi-weapon (sergeant has Power Fist and melta bombs)
Eradicator
Trask
(same rules as Sly Marbo)
10
Storm Troopers
With 1 Flamer / 1 melta
10
Storm Troopers
With 1 Flamer / 1 melta |
The Tyranids have infested Derventa installation on one of
Omega’s main moon Jajce – all personnel assumed deceased. The installation
contains an Archeotech artefact known as a psi-transmitter. The transmitter
allows psychic energy to be transmitted over a great distance, essentially an
amplifier. It has never been used to date for fear of how powerful the
amplification may be. The Tyranids are suspected to be able to use it to alert
other Tyranid broods, either dormant on Omega or in neighbouring systems, to
reinforce their assault. Likewise, the Imperials believe they could use the
transmitter as a weapon of last resort to summon naval reinforcements. The
installation is underground and well shielded making orbital bombardment
impossible. A kill team from the Ordo Xenos Deathwatch, led by an Ordo Xenos
Inquisitor and Librarian have been tasked with eradicating the Tyranid threat
or destroying the installation. Support in the form of Imperial Guard Special
Ops has been approved and provided.
Mission Length:
10 turns.
Deployment etc:
The mission is played on a 4 by 4 board. Roll off to see who
deploys first.
‘They’re coming out of
the god damn walls!’ : Each room starts with a defined number of Tyranid
models in it randomly determined at the game start (see table).
Place D12 spore mines anywhere within the facility (even
corridors) but not within 6” of a door. In
addition and to represent the service levels of the facility, there are 3
points on the map at which additional Tyranid units may enter (Imperial units
may not move within 3” of these points). Tyranid units may assault as normal
when entering play from these points. Roll on the reinforcement table at the
beginning of each turn.
Deployment Table
|
|
Dice Roll
|
Result
|
1
|
D6
Termagants
|
2
|
D6
Hormagaunts
|
3
|
D12
Termagants
|
4
|
D12
Hormagaunts
|
5
|
D6
Genestealers
|
6
|
D3
Warriors (any combination of wargear)
|
Special Rules:
The Tyranids are all treated as having synapse if within
normal range of one of the blips (or Zoanthropes).
Any model armed with Melta bombs or demo charges may trigger
the self-destruct at the given points at any time in the game.
Any Imperial model
may commandeer the turrets usable throughout the installation. These may be
destroyed only after they have been activated and should be treated as immobile
artillery. They together with the heavy bolter are the only weapons which can
target multiple models striking the nearest model first and progressing until
saves are made or no more wounds remain.
Lurking in the shadows: Deathleaper stalks the imperial forces
unbeknownst to them. He starts the game in reserve and is used as per normal
Reinforcements
table
|
|
Dice Roll
|
Result
|
2
|
D3
Ripper bases
|
3
|
D6
Termagaunts
|
4
|
D6
Hormagaunts
|
5
|
2D6
Termagants
|
6
|
2D6
Hormagaunts
|
7
|
D6
Genestealers (on a roll of 6, roll a further D6: on a 4+ the 6th
member is a Broodlord)
|
8
|
D3
Warriors (basic loadout)
|
9
|
D3
Warriors (Deathspitters)
|
10
|
D3
Raveners (Rending Claws)
|
11
|
D3
Warriors (Lashwhips, Boneswords)
|
12
|
D3
Lictors
|
There are 4 blips which are only activated once LoS is drawn
to them. Roll a d3 for the model once it is revealed:
1 = Carnifex (4
Scything Talons, Bio Plasma)
2 = Zoanthrope
3 = Doom of Malantai
Each may only be placed once and in the order it is drawn,
except the Zoanthrope which may be drawn twice. Reroll until a different number
comes up if there is a problem.
Special Tactics:
this game is played like a kill team mission so every model acts as an
individual. In close combat, a model may be engaged if it is within 3” of a
model in base to base contact.
Doors may be opened and closed simply by moving into contact
with them. Carnifexes must roll for difficult terrain when moving through them.
Victory Conditions:
The clock is ticking until the Tyranids are able attune
themselves to the psi-transmitter. If the Imperial forces are unable to achieve
victory in time, all will be lost regardless of the outcome.There are several
possible outcomes to the mission:
Conditions
|
Result
|
Impact
on Mission 5
|
Zoanthropes destroyed; Librarian or Inquisitor survives
|
Imperial Victory
|
Imperials benefit from use of psi-transmitter. Salvation +5,
Exterminatus +2.
|
Zoanthropes destroyed; both Librarian and Inquisitor are killed
|
Draw
|
The Imperium has managed to stop the Tyranids from achieving their
objective but cannot make use of the psi-transmitter themselves.
|
Imperials detonate facility before end of turn 7
|
Draw
|
Facility is destroyed; neither side can make use of the
psi-transmitter.
|
Zoanthropes alive at the end of the game, or all Imperial forces are
destroyed
|
Tyranid win
|
The Tyranids will benefit from psi-transmitter in game 5.
Annihilation +5.
|
Facility Map:

 |
| The Imperial forces enter the facility (ignore the imperials on the bottom left) |
 |
| The true extent of the Tyranid Infestation in unknown to Inquisitor Lothar's party. |
 |
| Inquisitor Lothar leads the Kill team in through the SouthWest entrance |
 | ||
| Stormtroopers entering from the North rush to man the gun emplacement. |
 |
| Genestealers rush towards the Imperial forces to protect the Zoanthrope. |
 |
| Inquisitor Lothar is unfazed and prepares to terminate the Zoanthrope threat. |
 |
| Meanwhile, more stormtroopers enter from the East corridor. |
 |
| The advance from the North proceeds cautiously, the peril of Inquisitor Lothar unknown to them. |
 |
| The ravenous hordes remain contained behind doors waiting to strike. |
 |
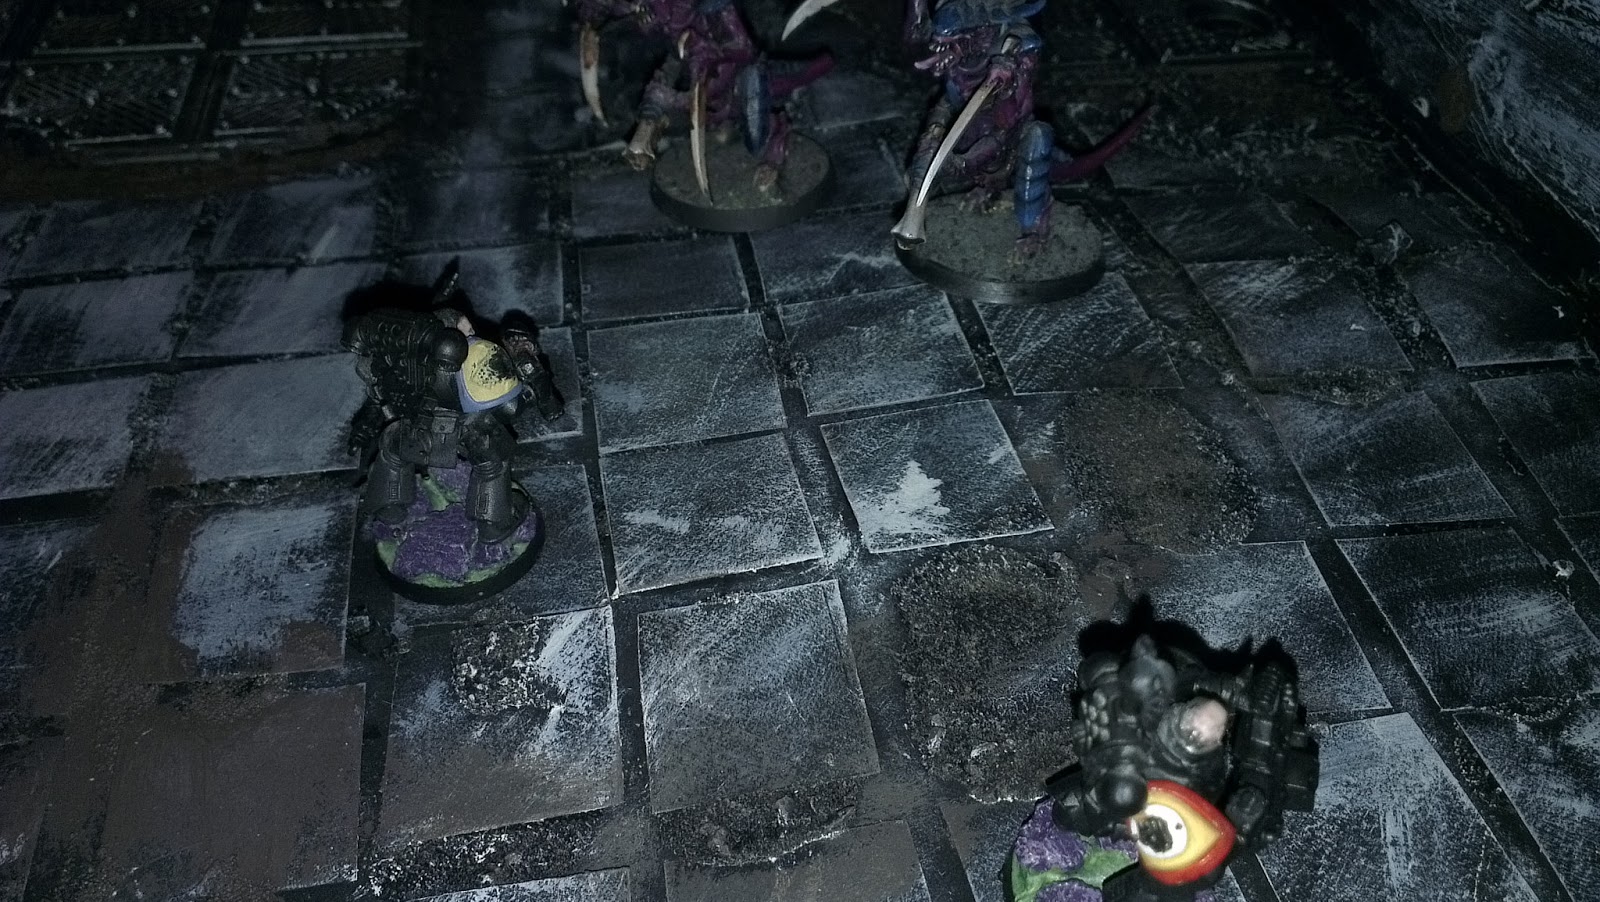
| The Deathwatch meet resistance in the South corridor as Lothar takes the fight to the enemy in the cargo bay. |
 |
| Tyranid warriors join the fray in the cargo bay, as does Librarian Izildur. |
 |
| Lothar kills the Zoanthrope but is felled by one of the enraged warriors - Izildur steps forth to avenge the Inquisitor and persecute his mission. |
 |
| Eradicator Trask is too late to save Lothar, but mans the cargo-bay emplacement in an effort to stem the tide of Tyranid reinforcements. |
 |
| The Northern stormtroopers face stiff opposition as they man the emplacement. |
 |
| Trask heads North to assist the Stormtroopers, leaving the Deathwatch to hold the line. |
 |
| The Deathwatch move up towards the blip in the South-East |
 |
| The hordes pour forth towards the Stormtroopers. |
 |
| Spore mines drift perilously through the corridors. |
 |
| The unending tide. |
 |
| Death waits around every corner. |
 |
| Deathleaper is mercilessly gunned down by kraken bolts after ambushing the Deathwatch guarding the cargo-bay. |
 |
| The Imperials appear to have the upper hand as they contain the Tyranid menace. |
 |
| Thanks to the Stormtroopers in the North clearing the corridors with massed fire, those from the East are free to advance. |
 |
| The last tides of resistance in the South corridor bring the Deathwatch advance to a halt. |
 |
| A flurry of Tyranid reinforcements tip the favour of the battle against the Imperials. |
 |
| The path is now clear for the Stormtroopers and Trask to enter the North-West room and see what horrors lurk inside. |
 |
| Without the aid of Trask, Tyranid reinforcements are able to overwhelm the Deathwatch in the cargo bay. |
 |
| With their advance stalled, time is running out for Izildur and the Deathwatch battling to reach the Southwest objective. |
 |
| The Stormtrooper and Trask encounter the dreaded 'leecher' in the North-Western room, and despite valiant efforts they are all drained of life by the dreaded creature. |
 |
| With their comrades slaughtered, the remaining Stormtroopers have no choice but to flee from the leecher into the waiting arms of more Tyranids. |
 |
| Sensing they cannot complete their mission with their numbers so depleted, Librarian Izuldur's final order to Sergeant Victus is to double back to the cargo bay and set off the charges to detonate the facility. While Izuldur holds off the rampaging Tyranids and the Raven Guard Brother Corven covers Sergeant Victus, the Ultramarine tyrannic war veteran desperately races to plant the melta bombs and bring both death and victory......... |
 |
| .......and fails. As Victus is ripped apart by genestealers the remaining scattered Imperial forces are left to their fates and the mission is a failure. |
Mission Three DEBRIEF – Tyranid Victory
Though the Storm Troopers and
Deathwatch Kill Team slew countless Tyranid beasts, their advance was halted by
the same mysterious creature that
accounted for Colonel Esmir, a powerful Zoanthrope variant that the Guardsmen
have come to call “The Leecher.”
Recognising that the tide had turned against the Imperials, Librarian Izuldur
ordered Sergeant Victus back towards the detonation point. Izuldur did what he
could to hold up the advance of the Tyranids pouring out of the ventilation
shaft, but eventually fell in heroic sacrifice. Victus readied his melta bombs, determined not to
let the beacon fall into enemy hands, and bested a Warrior with one steady shot
of his bolt pistol. Mere feet from his target he was met by a ferocious
scrambling Genestealer charge, and all hope was lost. The Imperials had
suffered a major set-back in their efforts to save Omega.
Current Score
|
|
SALVATION
|
0
|
EXTERMINATUS
|
0
|
ANHILIATION
|
5
|
Wow! That looks like you had a lot of fun! I could see that board getting used again and again. Thanks for sharing!
ReplyDeleteCheer for the comment. yes it was great fun thanks and we are already planning on using it again later in the campaign but with different objectives. it's a testament to old two eyes' creativity that the 3x3 looks as good as it does. just needs doors now and it should be finished.
ReplyDelete